

How to Colour Calibrate Using the Calibrite ColorChecker Classic Chart
For filmmakers and videographers, achieving accurate color representation is crucial for a polished final product. The Calibrite ColorChecker Classic Chart is a powerful colour calibration tool designed to simplify this process. By providing a consistent color reference, it ensures that footage shot with different cameras or under varying lighting conditions matches seamlessly. This guide will walk you through using the ColorChecker for colour calibration on film cameras and monitors, looking at its benefits and step-by-step applications.
What is the Calibrite ColorChecker Classic Chart?

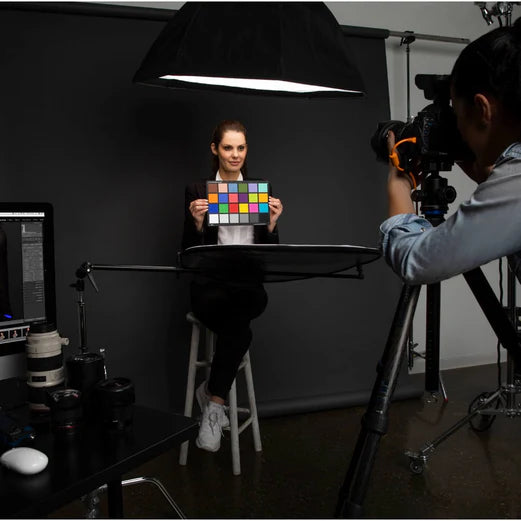
Pictured: Calibrite ColourChecker Classic Chart (Macbeth)
The ColorChecker Classic Chart is an industry-standard tool featuring 24 scientifically designed color patches. Each patch represents natural object colors like skin tones, foliage, and skies, making it ideal for filmmaking. Its primary applications include:- Colour Calibration: Ensures accurate and consistent color across different cameras.
- White Balance: Offers a neutral reference to adjust your camera for natural color reproduction.
- Colour Grading: Provides a reliable guide for grading in post-production.
Why Use a Colour Calibration Tool in Filmmaking?
- Consistency Across Multiple Cameras: Ensures footage from different devices matches during editing.
- Accurate Skin Tones and Colors: Maintains lifelike representation for scenes with actors and nature.
- Time-Saving in Post-Production: Reduces guesswork in color grading and adjustment.
How to Colour Calibrate Using the ColorChecker Classic
Step 1: Setting Up the ColorChecker Chart
- Place the ColorChecker Classic Chart in your scene during the initial setup.
- Ensure the chart is well-lit with the same lighting conditions as your subject.
- Avoid direct reflections to maintain neutral readings.
Step 2: Capture Footage with the Chart
- Film a short clip or take a photo of the chart in your setup.
- Include the chart at the beginning of each setup or lighting change to ensure consistent calibration data.
Step 3: Import Footage into Editing Software
- Use professional software like Adobe Premiere Pro, DaVinci Resolve, or Final Cut Pro.
- Import the footage with the ColorChecker visible.
Step 4: Perform Colour Calibration
- Use the editing software's tools to match the ColorChecker patches to their corresponding values.
- For example, use the RGB Parade or Vectorscope to adjust highlights, midtones, and shadows.
- Tools like DaVinci Resolve offer dedicated color matching features that sync with the ColorChecker’s reference data.
Step 5: Apply Adjustments to the Entire Footage
- Once the footage with the ColorChecker is calibrated, apply the same settings across all clips from that scene.
- Ensure consistency in skin tones and environmental colors.
Step 6: Monitor Calibration
- For accurate display calibration, pair the ColorChecker Classic with a monitor calibration tool (e.g., Calibrite Display Pro).
- This ensures your editing screen represents colors accurately, preventing discrepancies in the final output.
Tips for Using the ColorChecker Classic
- Regularly Calibrate Your Camera and Monitor: Even the best equipment drifts over time. Routine calibration maintains reliability.
- Always Use the Chart in New Lighting Setups: Subtle lighting changes can affect colors dramatically.
- Pair with ColorChecker Software: Tools like the Calibrite Camera Calibration software enhance precision by generating custom profiles.
Leave a comment